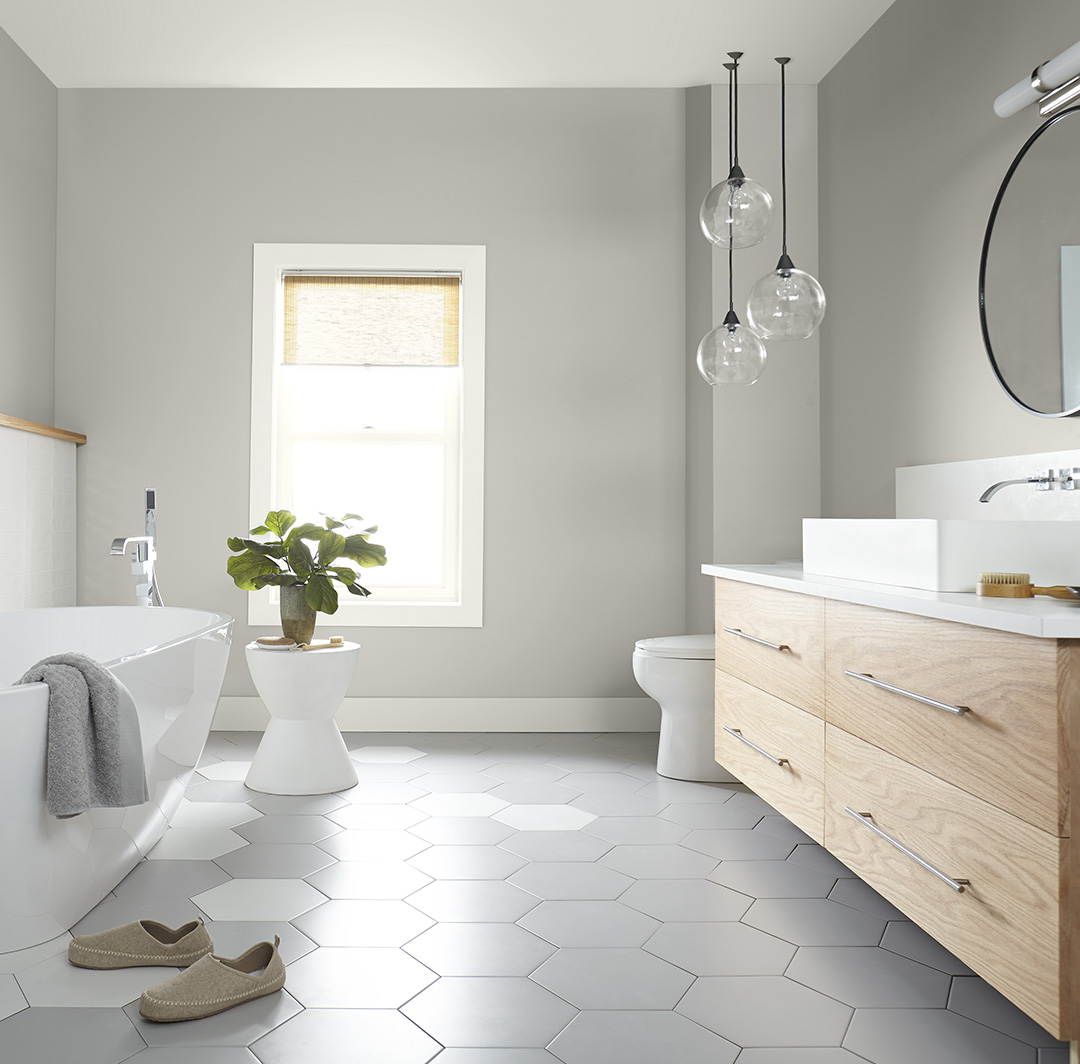
Applying Behr Bathroom Ceiling Paint

Painting a bathroom ceiling with Behr paint can be a rewarding project that transforms the look and feel of your space. A well-prepared surface and proper application techniques are crucial for achieving a smooth, even finish. This guide will walk you through the process, from preparation to finishing touches.
Essential Tools and Materials
Having the right tools and materials is essential for a successful paint job. Here’s a list of what you’ll need:
- Behr Bathroom Ceiling Paint
- Paint Roller and Extension Pole
- Paint Brush
- Paint Tray and Liner
- Painter’s Tape
- Drop Cloths
- Sandpaper (120-grit)
- Putty Knife
- Cleaning Supplies (soap, water, rags)
- Ladder or Step Stool
- Safety Glasses and Mask
Preparing the Bathroom Ceiling
Proper preparation is crucial for a smooth and even finish. This involves cleaning, patching, and sanding the ceiling surface.
- Remove Existing Paint or Wallpaper: If there is existing paint or wallpaper, remove it using a paint scraper or wallpaper stripper. Be sure to wear a mask and gloves for safety.
- Clean the Ceiling: Use a damp cloth and mild soap to clean the ceiling surface, removing dust, dirt, and cobwebs. Allow the ceiling to dry completely before proceeding.
- Patch Any Cracks or Holes: Use a putty knife to apply spackling compound to any cracks or holes. Let the compound dry completely, then sand it smooth using 120-grit sandpaper.
- Prime the Ceiling: Apply a primer to the ceiling surface to create a smooth, uniform base for the paint. This helps the paint adhere better and prevents the previous surface from showing through.
Applying Behr Bathroom Ceiling Paint
Once the ceiling is prepared, you can begin applying the paint. Here’s a step-by-step guide:
- Protect the Area: Cover the floor and any surrounding surfaces with drop cloths to prevent paint splatters. Use painter’s tape to mask off any areas you don’t want to paint, such as trim or walls.
- Pour Paint into Tray: Pour a small amount of paint into the paint tray. Don’t overfill the tray, as this can lead to spills.
- Load the Roller: Dip the roller into the paint tray, ensuring it’s evenly coated. Roll the roller back and forth on the tray’s ridged surface to remove excess paint.
- Apply Paint in Sections: Start by painting the ceiling in sections, working from one corner to the other. Apply thin, even coats, overlapping each stroke by about half the width of the roller.
- Cut in Edges: Use a paint brush to cut in around the edges of the ceiling, where the roller can’t reach.
- Let Paint Dry: Allow the first coat of paint to dry completely before applying a second coat. This typically takes 1-2 hours, depending on the humidity and temperature.
- Apply Second Coat (Optional): For optimal coverage, apply a second coat of paint, following the same steps as the first coat.
Tips and Tricks, Behr bathroom ceiling paint
Here are some tips and tricks for achieving a smooth, even finish and avoiding common painting mistakes:
- Use a High-Quality Roller: A high-quality roller will leave a smoother finish and help prevent paint splatters.
- Don’t Overload the Roller: Too much paint on the roller can lead to drips and runs.
- Work in Small Sections: Working in small sections helps you maintain a wet edge and avoid paint lines.
- Don’t Press Too Hard: Apply gentle pressure when rolling the paint. Pressing too hard can create uneven coverage.
- Clean Up Immediately: Clean up spills and drips immediately to prevent them from drying and becoming difficult to remove.
Behr bathroom ceiling paint offers excellent mildew resistance, a crucial feature for a high-humidity environment. If you’re looking to revamp your bathroom’s look, consider giving your vanity a fresh coat of paint. Annie Sloan Chalk Paint is a popular choice for bathroom vanities, as seen in this DIY transformation guide.
After your vanity makeover, you’ll want to ensure your ceiling complements the new aesthetic, making Behr’s bathroom ceiling paint a great option for a cohesive look.
Behr bathroom ceiling paint is a popular choice for homeowners, offering durability and a wide range of colors. However, if you’re seeking a finish that’s particularly resistant to moisture and mildew, consider a vinyl matt paint for bathroom.
This type of paint provides a smooth, low-sheen surface that’s easy to clean and maintain, making it an excellent choice for high-traffic areas like bathrooms. When choosing Behr bathroom ceiling paint, remember that a durable finish is essential for long-lasting results.